How to Create a Pull Request
This document will take you through the steps of creating a new pull request. Note: This document uses the Standard-Toolkit, but the procedure is the same for Extended-Toolkit.
- Requirements a) A copy of GitHub Desktop b) A copy of either Standard-Toolkit or Extended-Toolkit
Steps
Step 1
Clone a copy of either Standard-Toolkit or Extended-Toolkit with GitHub Desktop
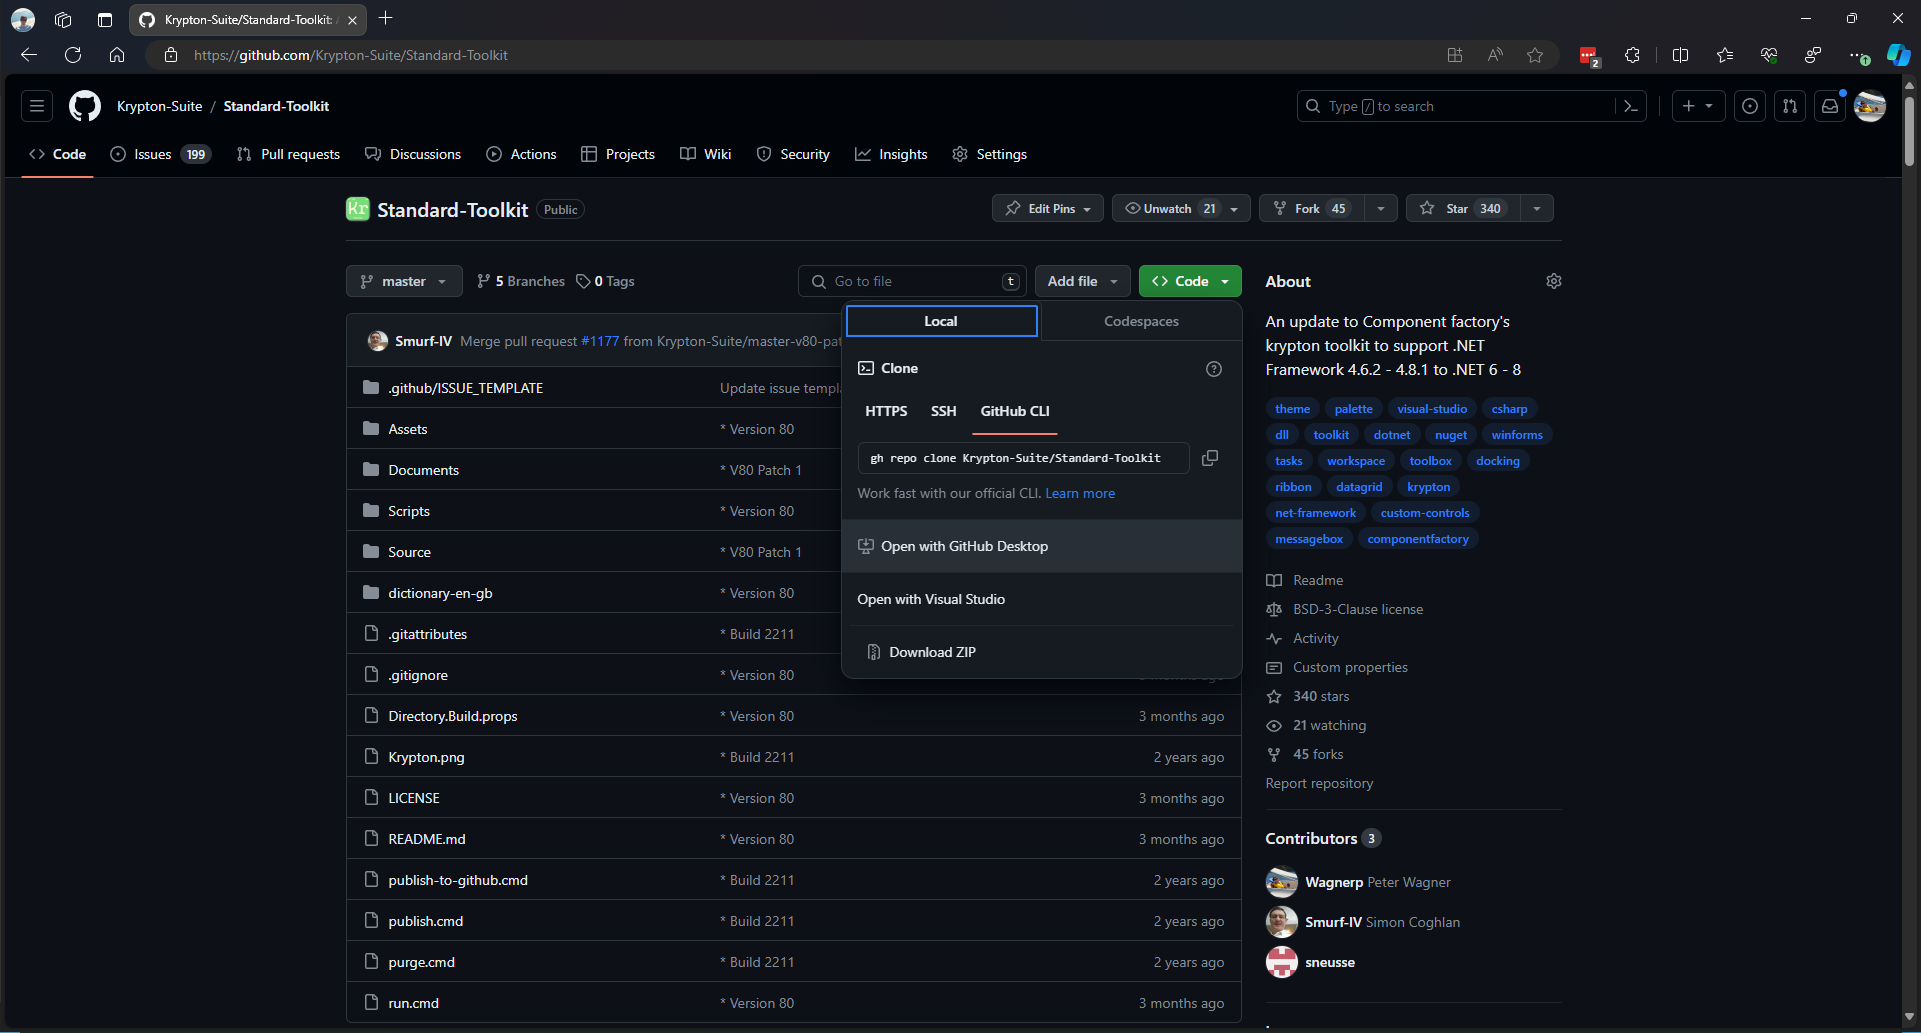
Step 2
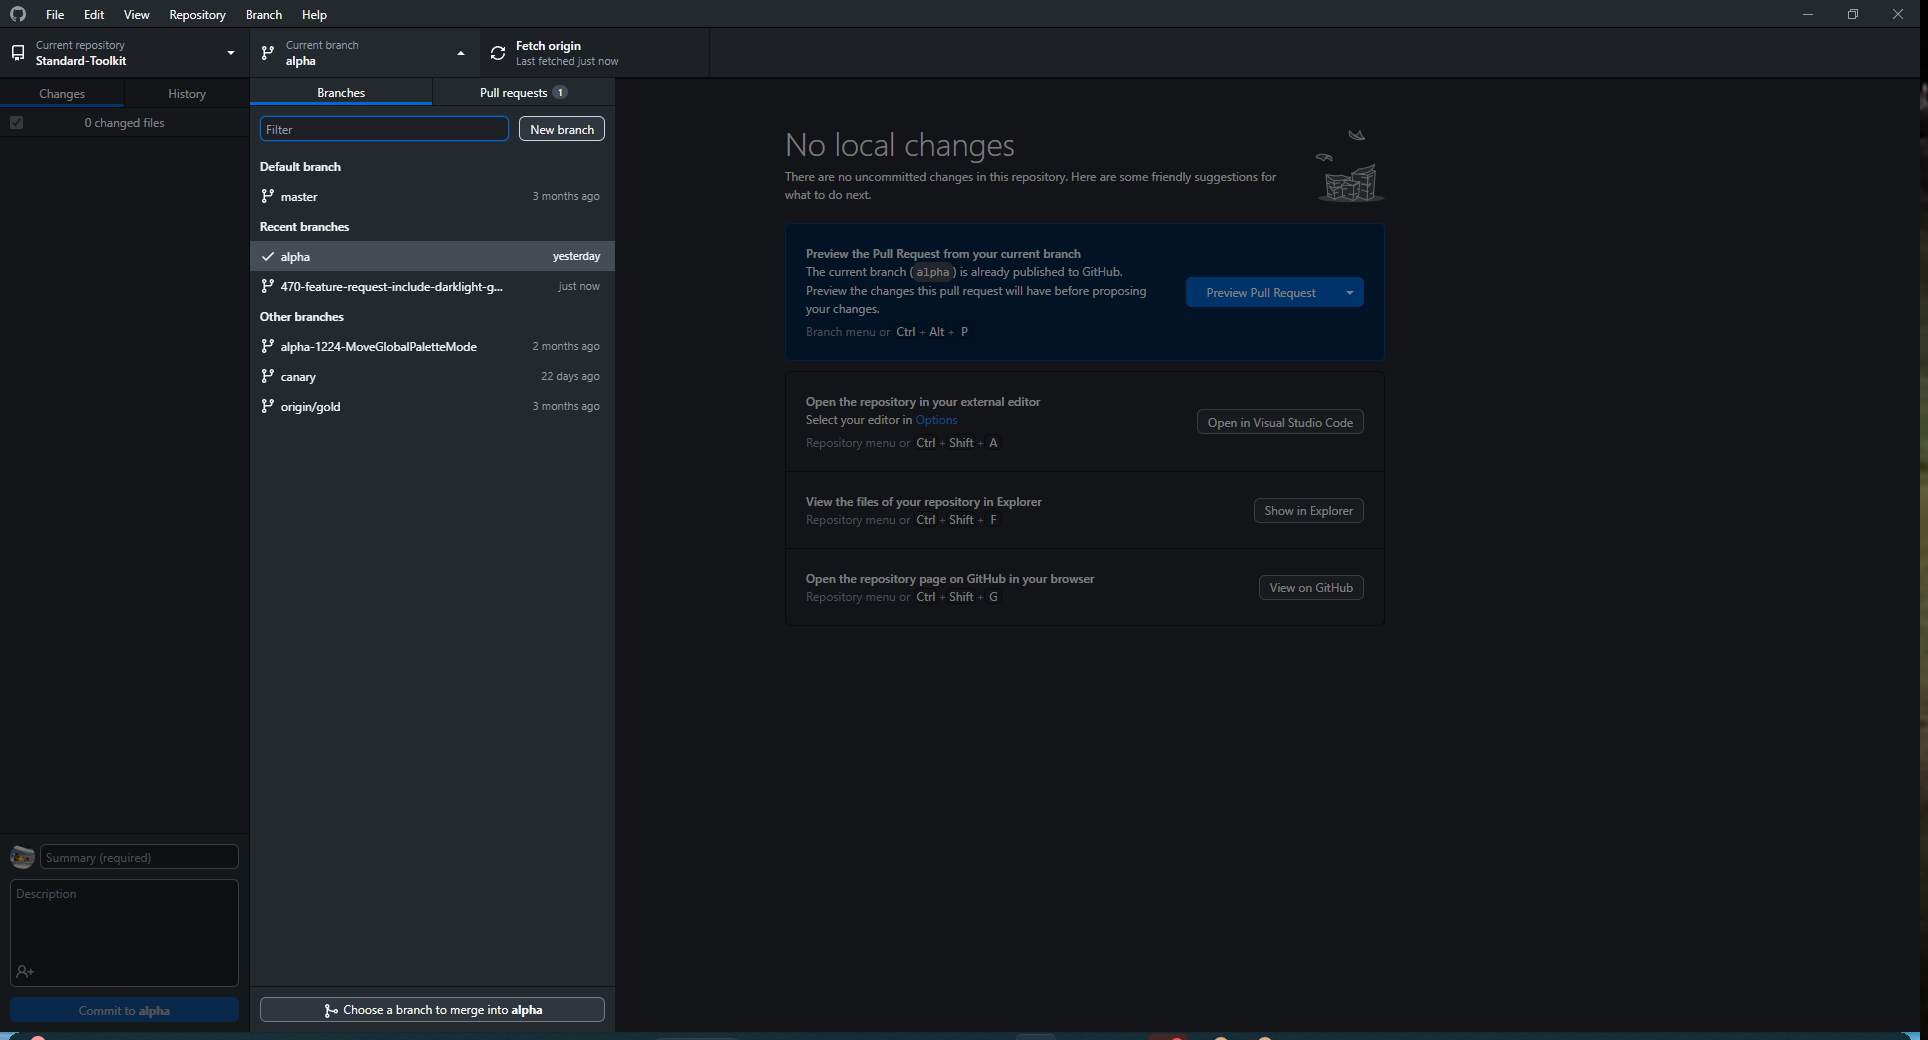
Once cloned to your computer, open up GitHub Desktop, navigate to the repository then change the branch from main to alpha.
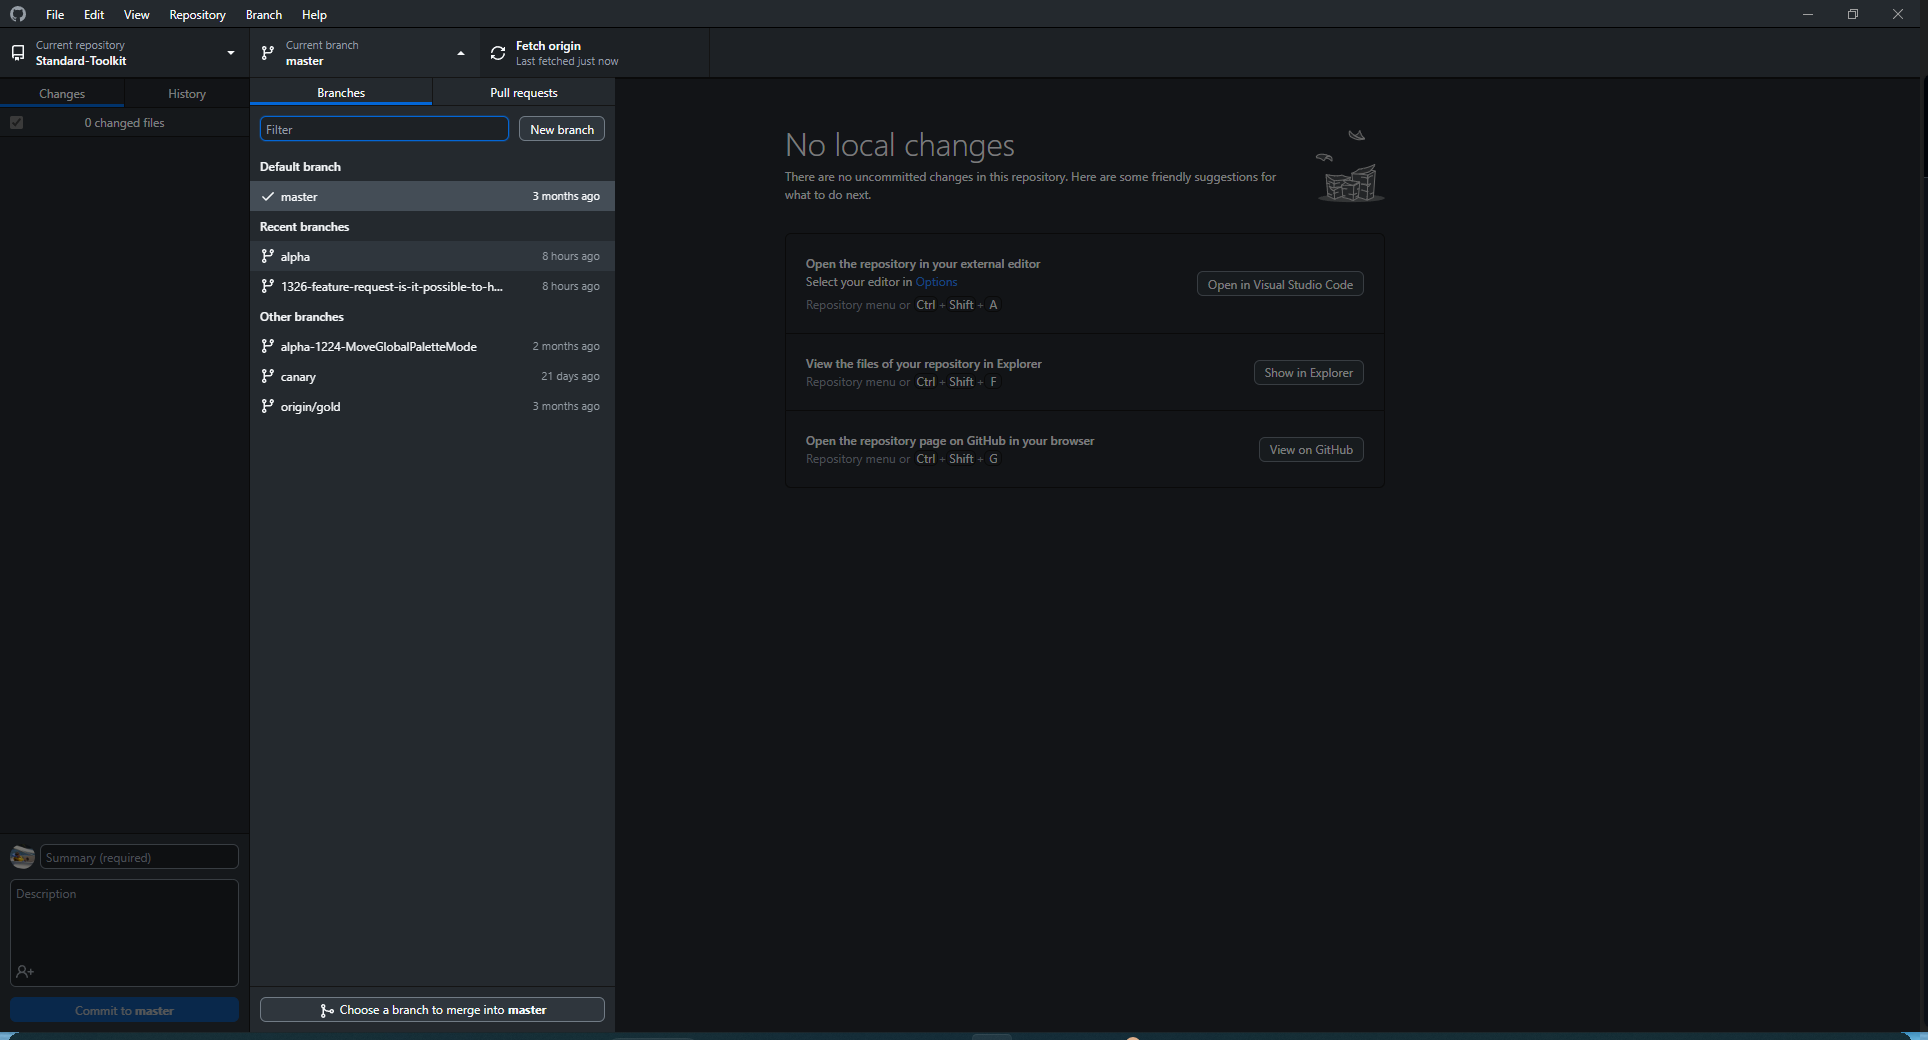
(Note: You may see different branch names)
Step 3
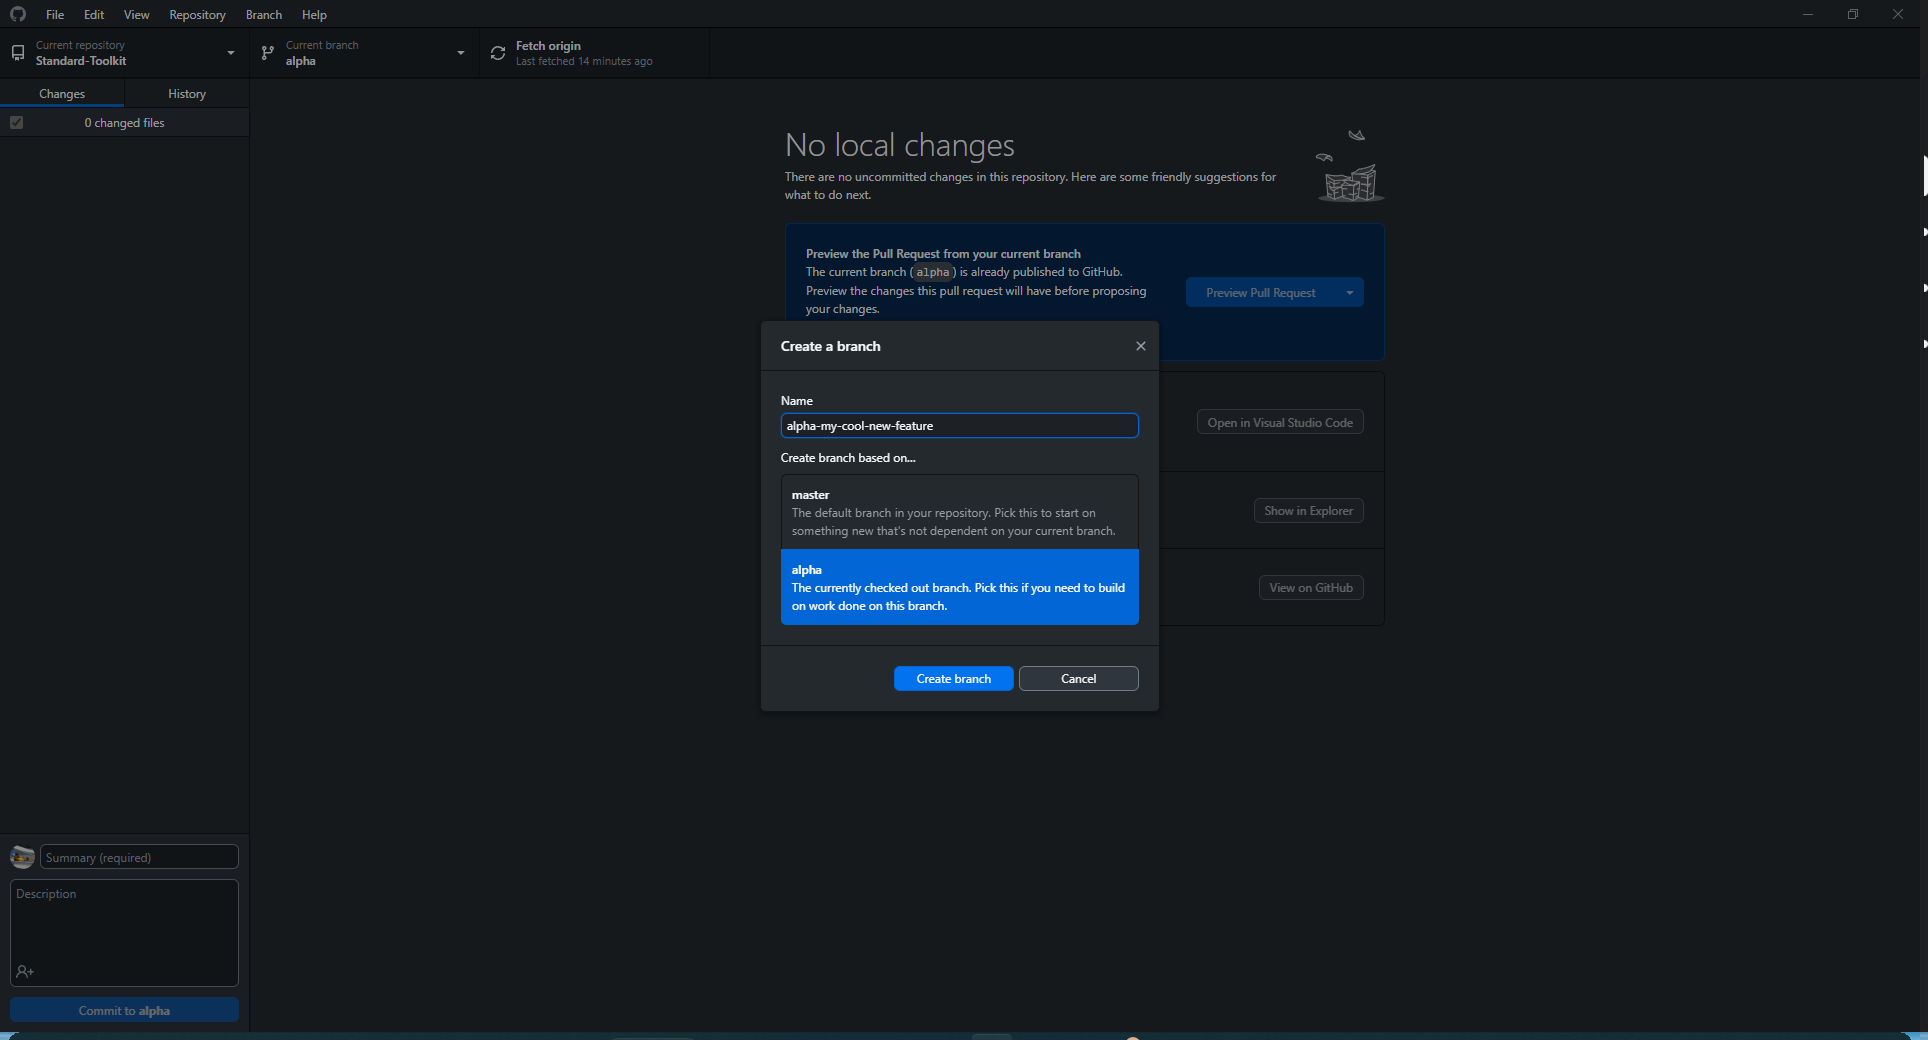
In the same menu as before, click 'New branch', in the new window, create a name for your branch, making sure it is based on alpha.
Step 4
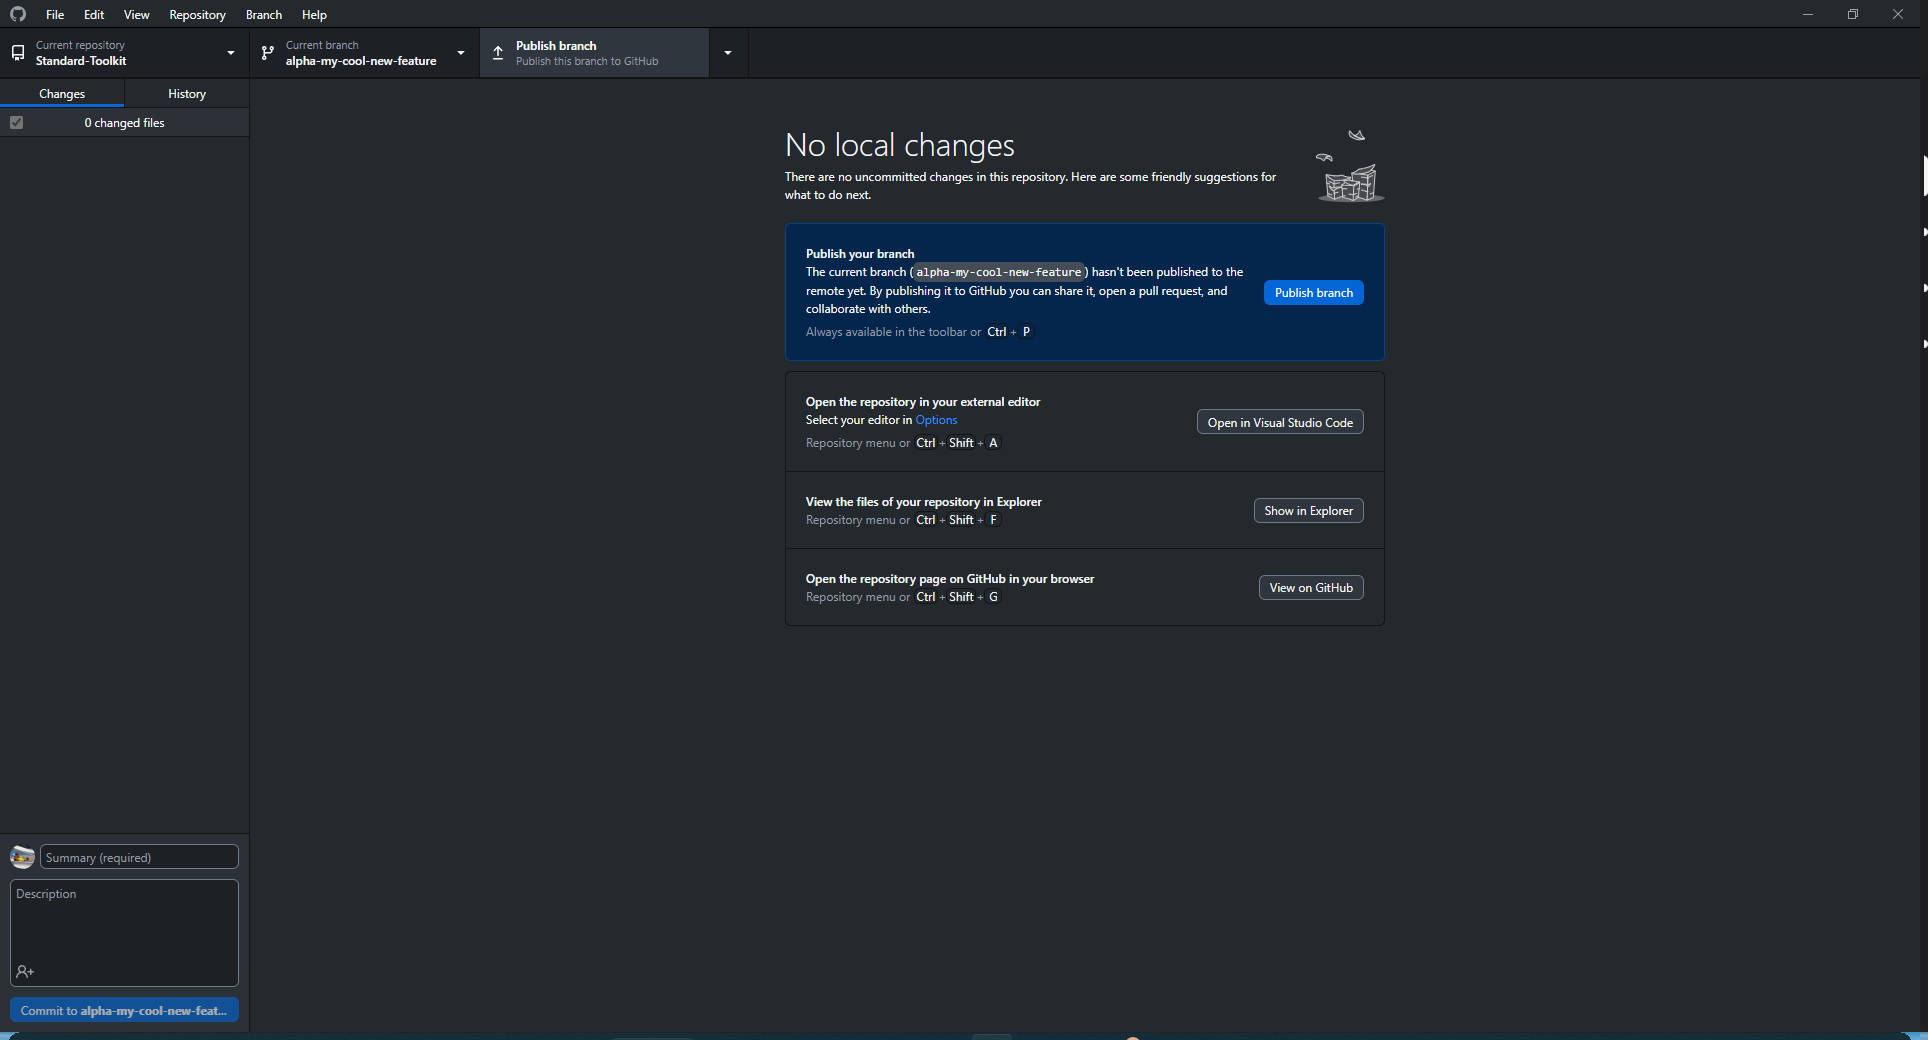
Once you have made your changes, press the 'Publish branch' button in GitHub Desktop
Step 5
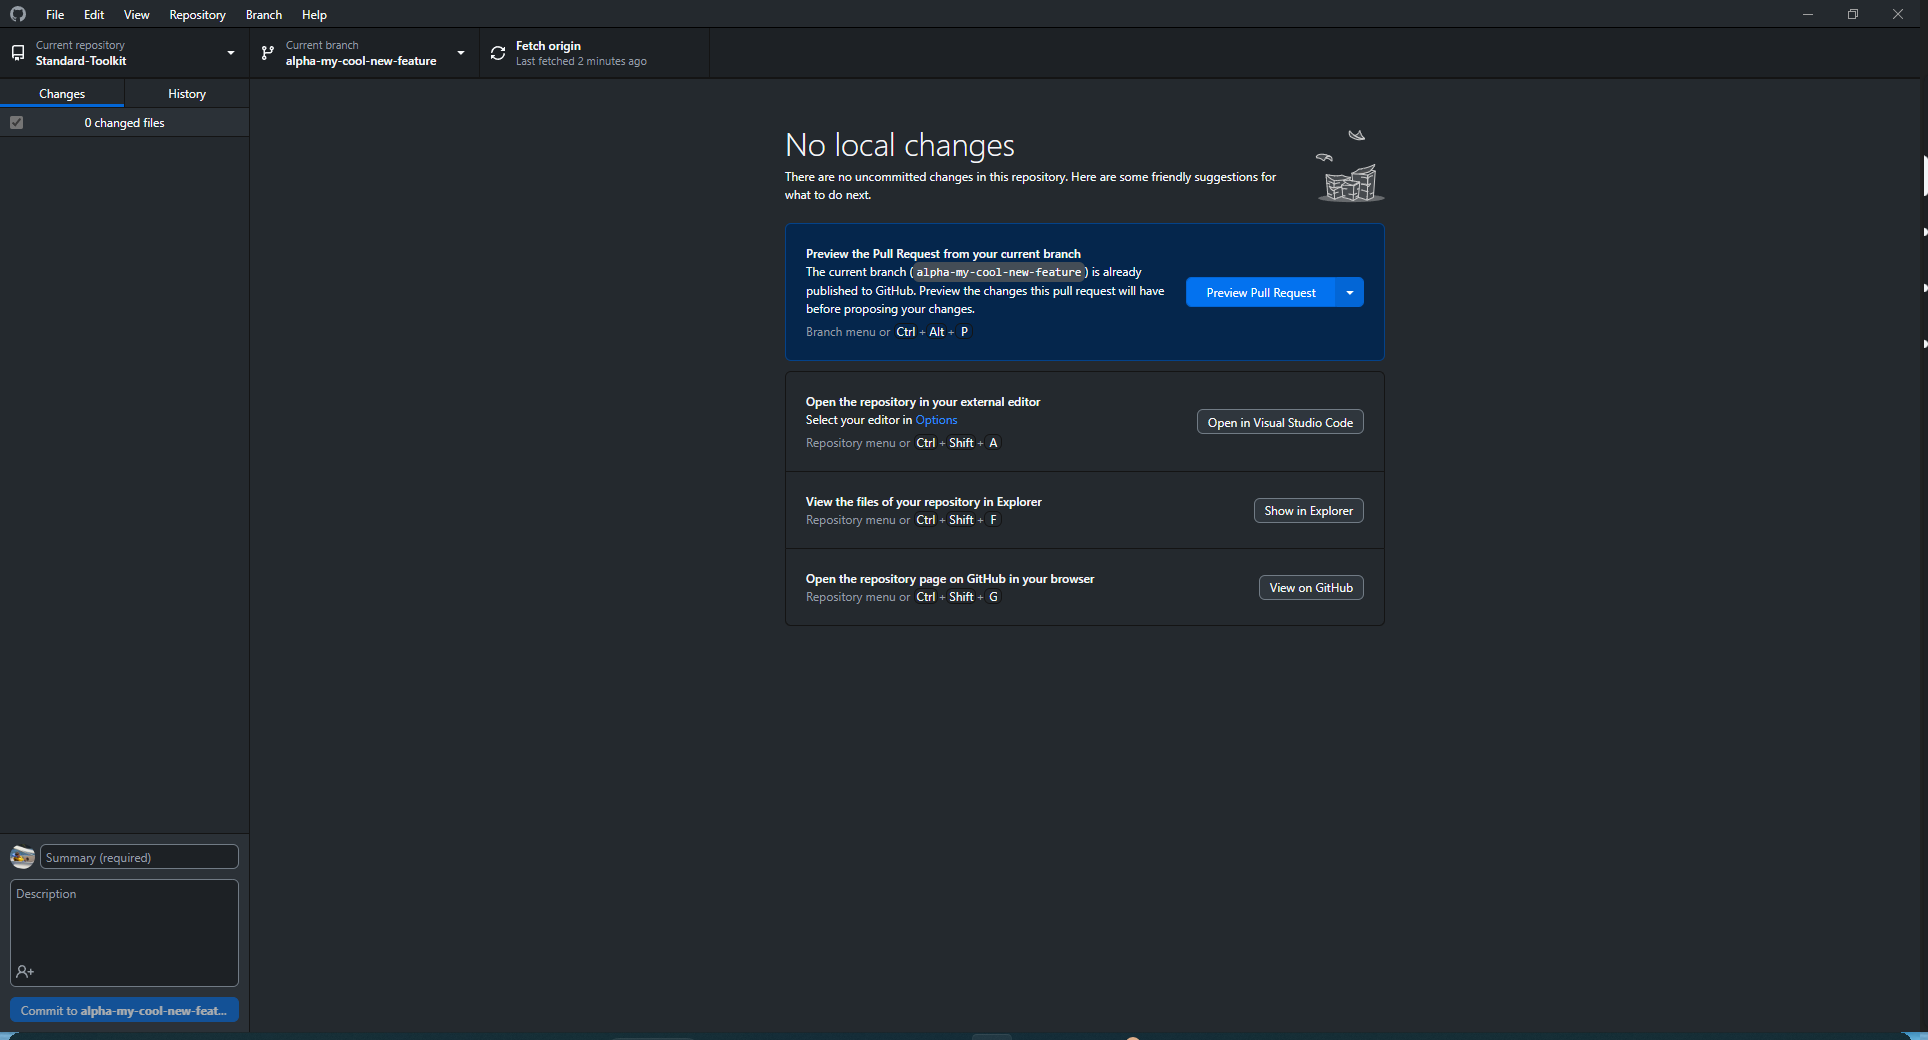
Once you have published your branch, click 'Preview Pull Request'
Step 6
Once you have clicked 'Preview Pull Request', the following window will appear
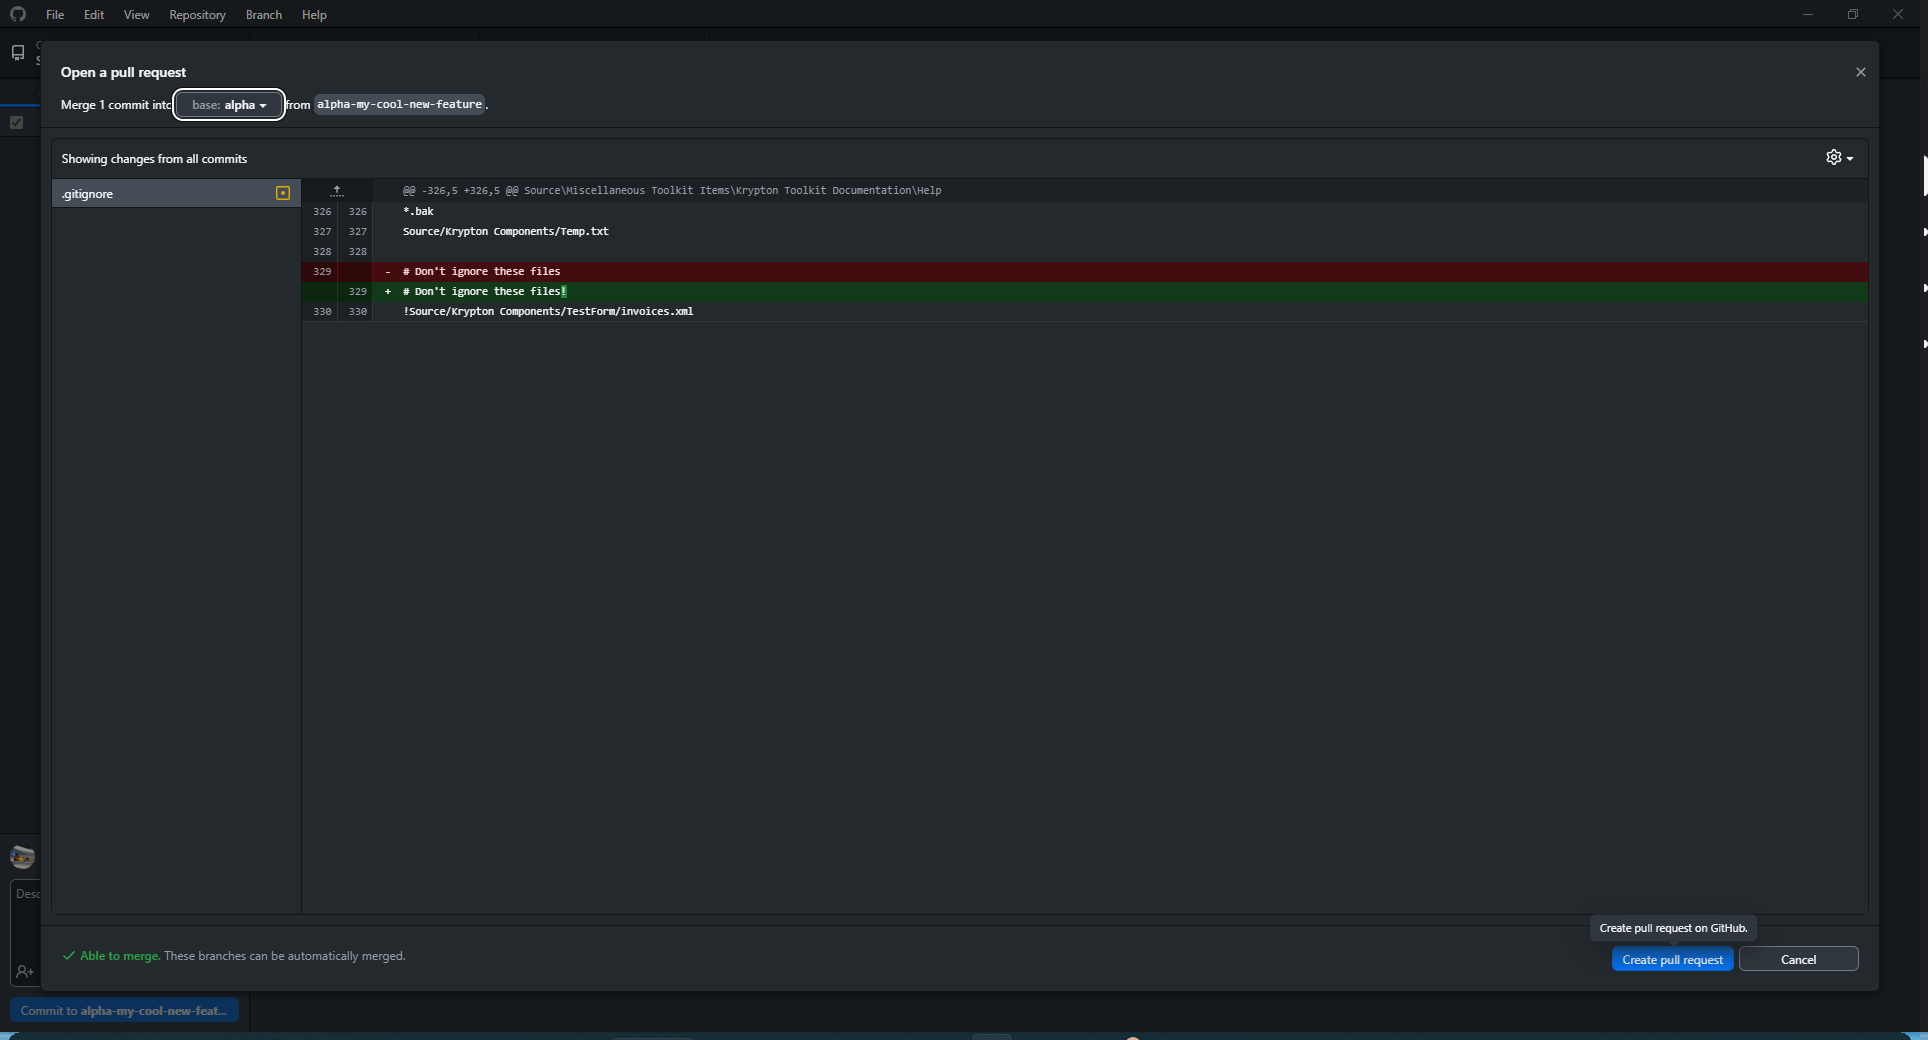
Please ensure that alpha is selected before clicking 'Create pull request'
Step 7
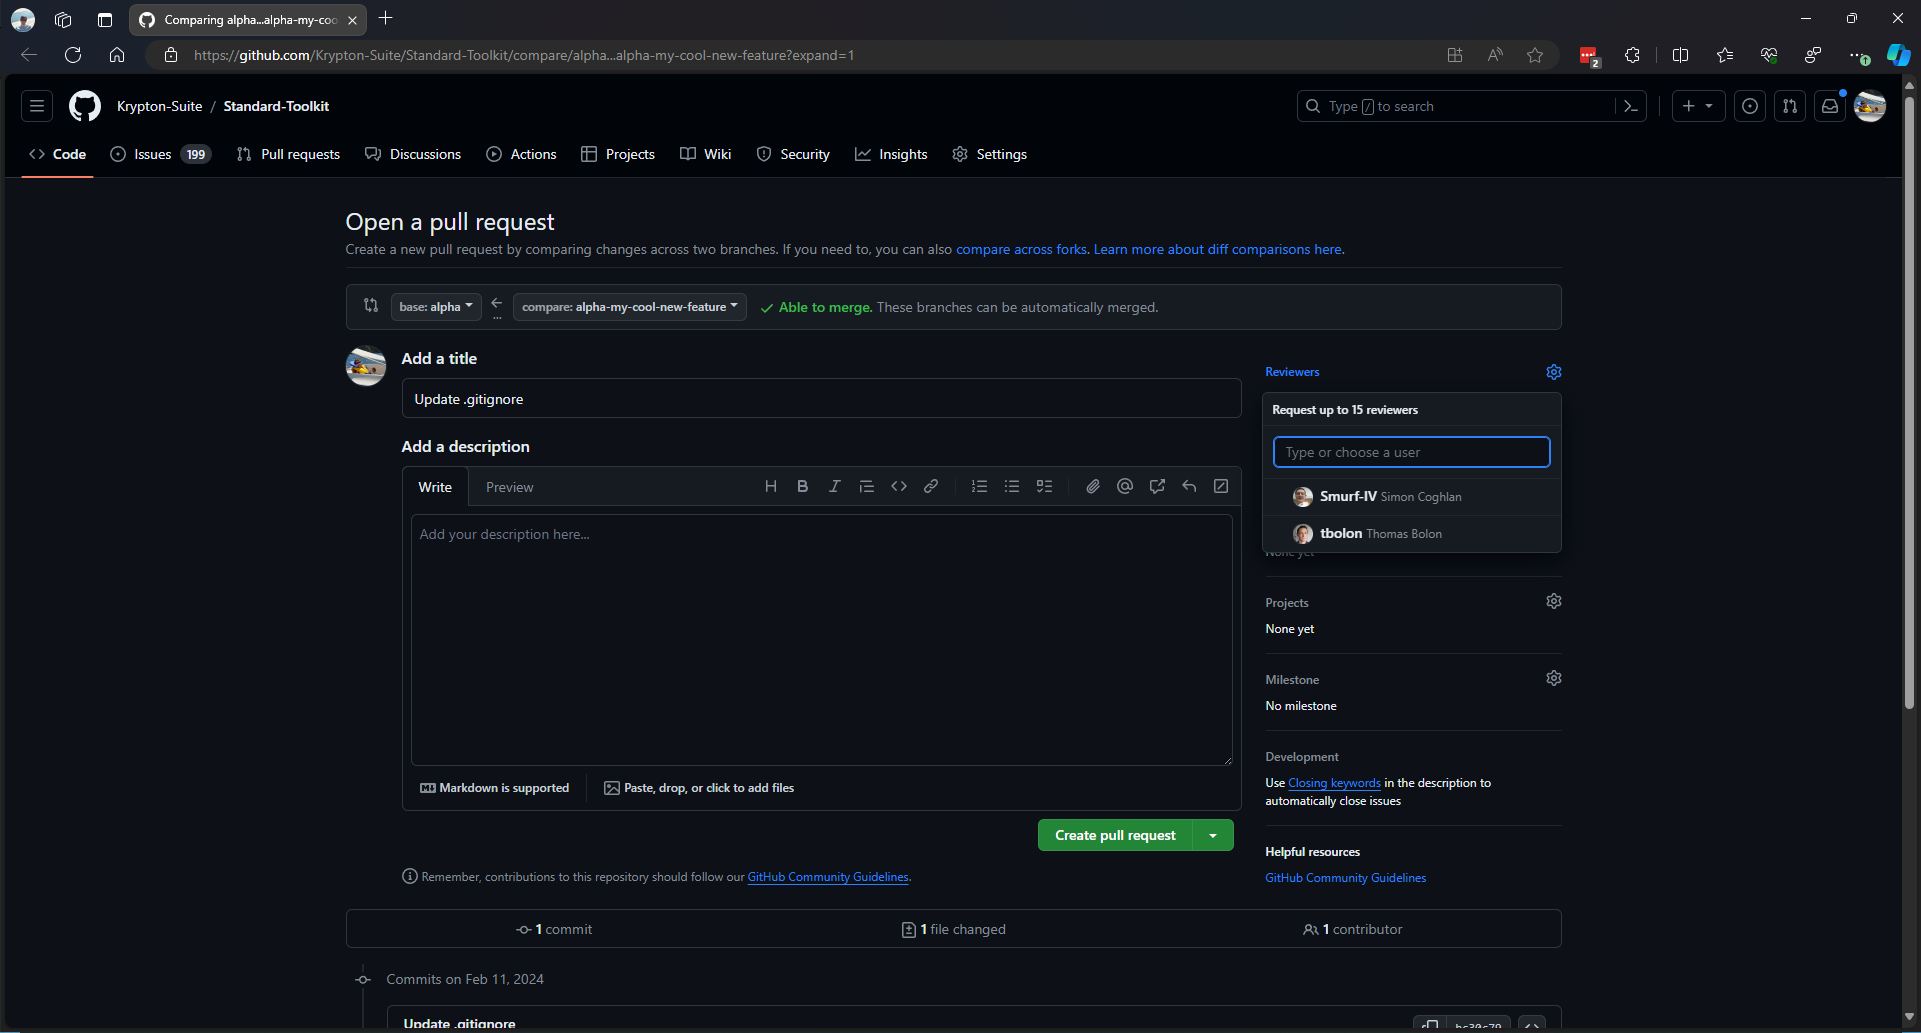
Once you have clicked 'Create pull request', GitHub Desktop will launch your default web browser. From there, please type in your notes, then assign either @Smurf-IV or @Wagnerp before clicking 'Create pull request'. From there, we will review your changes, and sometimes ask you to make changes if necessary. Once the changes are merged, please then delete your branch to avoid "stale branches".
Animation

Additional Notes
Please remember to always update
Changelog.mdwith any changes that you have made. This is located in Documents\Help\Changelog.md.We ask you to provide a build report when submitting a pull request. This allows us to verify that there are no errors within the code. To do this, simply execute
run.cmdfrom the root directory. Choose option '4' -> '1'. Once completed, it should show something like this:
Simply take a snippet of the log, then paste it into your pull request description.